How To Grow Foods
From Seeds
Inside Your Home

Cathy Harris, CathyHarrisGardenClub.com
Aug. 10, 2017
If you plant seeds in your home, give them 6 to 8 weeks to grow into seedlings before planting outside. Most diseases are on transplants - not seeds - so it's important to grow foods from seeds, and you will also save money by planting seeds.
Seed Starting Basics
The reasons to start seeds include:
- To start growing on your schedule.
- To have varieties that aren't available locally.
- To avoid bringing in pests and diseases.
- To have big, healthy starts.
- To save money.
- To continue the chain of saving seeds.
- To have the satisfaction of doing it yourself and being self-reliant.
- For the fun of it.
Different Types of Seeds
- Hybrid - In agriculture and gardening, hybrid seeds are seeds produced by cross-pollinated plants. Hybrid seeds production are predominant in modern agriculture and home gardening. An important factor is the heterosis (the increase in growth, size, function, yield, or other characters in hybrids over those of the parents).
- GMO - GMO seed varieties are created in a lab using high-tech and sophisticated techniques like gene-splicing. The goal was to create a pest-resistant plant, but many of these seeds are growing toxic foods that causes diseases, sicknesses and death. The foods have no nutritional value. Read more on GMOs.
- Open-Pollinated - "Open pollinated" generally refers to seeds that will "breed true". When the plants of an open-pollinated variety self-pollinate, or are pollinated by another representative of the same variety, the resulting seeds will produce plants roughly identical to their parents.
- Heirloom - Heirloom vegetables are old-time varieties, open-pollinated instead of hybrid, and saved and handed down through multiple generations of families. Usually, they cost less than hybrid seeds. But there are more reasons than just seed prices to choose heirlooms. You need to become a heirloom nerd and keep saving and growing these seeds.
Just Some of the Must-Haves of Growing Seeds Inside
- containers to start the seeds in
- "soil" (anything light that doesn't form a crust on top)
- small watering can/jug/bottle
- misting bottle
- labels
- marking pencils
- mild fertilizer (many like fish emulsion mixed with seaweed or John's Recipe but use half strength)
- seeds
Some of the Nice-To-Haves
- Lights - you can do this in a window if you have a bright enough one (most aren't), so lights might be a must-have.
- Bottom heat is nice, too, especially for sprouting, but not really imperative if your house is warm enough. Many do place trays and other containers on the top of refrigerators because it is warm. If you put trays close to vents, plants can dry out.
- A cover for the tray to keep it moist (saran plastic wrap works great and it's cheap).
- Timer for the lights (Use light timers to automatically turn your grow lights on and off each day).
- Cold frame outside for hardening off.
Growing Containers For Inside of Home
 To grow seeds inside your home, you can use empty yogurt cups,
 party cups, tomatoe sauce cans (but be careful of heavy metals), trays from garden centers, etc. Fill up the holes half way.
With biodegradable cups keep plants watered while they wait to be planted. Don't let them dry out. For best results, drench the pots thoroughly just before planting. Then let them drain for a few minutes before putting them into the ground. The pots turn a dark brown when they are wet.
let them drain for a few minutes before putting them into the ground. The pots turn a dark brown when they are wet.
Remove the label from the pot.
Cutting it with scissors is the easiest way. Peel off the bottom of the pot before placing the plant in its hole. This exposes the roots to ensure that they make direct contact with the soil. If the pot falls away from the root ball, this will not affect the plant.
You can compost any pieces of the pot or turn them into the ground, where they will break down, adding a little organic matter to the soil. Bury the pot so the top of the root ball is even with the ground and the rim is no longer visible. If the pot dries out, it can rob moisture from the roots. Exceptions to this depth are tomatoes and cabbages, which are planted deeper.
Windows and Grow Lights
Your seeds or seedlings
 need to receive at least 6 hours of sunlight daily. Most windows don't provide enough light. Large, south-facing ones might. If you start to see legginess (elongated (long and thin) stems between each set of leaves), that's a sign they're not getting enough light.
In that case, use cool white fluorescents with the most lumens you can find at the hardware store. Hang the lights an inch above the seedlings' leaves and raise in small increments as they grow.
You'll want to make sure you purchase lights that will illuminate your entire plantings area. You may need more than one bulb or light source to fully cover your growing area.
Different types of plants need different amounts of light. As a general rule of thumb, most vegetables and flowering plants need 12 to 16 hours of light per day, with flowering plants at the top end of that range.
Plan on giving most plants at least 8 hours of darkness per day. Check your seed packaging or plant tags, or ask at the nursery for specific suggestions. And make sure you turn your grow lights off every once in a while. No one likes to work 24 hours a day - even plants!
Two Rules To Go By
- Don't plant the seeds too deep. Deep enough is twice as deep as the seed is big.
- Don't let the seeds dry out. After germination do let the top of the soil dry out, then let the dryness go progressively deeper as the seedlings get taller.
Planting Procedures

1. Fill containers with slightly moistened seed starting mix. If you put seeds in a regular container, you can use potting soil, then put seed starter mix on top.
2. Plant seeds twice as deep as the seed is big. This means some seeds will be practically sitting on top of the seed starting mix with only a light dusting of mix sifted on top of them.
3. Label them. Do this immediately after sowing each type of seed or you will get them mixed up. You also need to buy labels, markers, wax  pencils or china markers from Office Depot (red, blue, black and other colors). Some people use popsicle sticks to label seeds.
pencils or china markers from Office Depot (red, blue, black and other colors). Some people use popsicle sticks to label seeds.
4. Bottom water if using trays until all seed starting mix is wet. If this doesn't happen after 24 hours, mist the top of the seed starting mix with your spray bottle until saturated or use your watering can.
5. Keep warm and well-watered and wait.
6. When germination has begun, place under lights if they aren't there already.
aren't there already.
7. Once seedlings have their first set of true leaves, let top of soil dry out, but only the top. You can begin watering with fertilizer but only use a half-strength solution of fish emulsion and seaweed once a week.
8. Raise lights as needed, but only to one inch away from top of seedlings.
Repotting
- If starting seedlings individually, wait until they are well-rooted in their current pots, then lift the root ball out with a fork and pot up into containers about ¼ bigger than their current container, watering in with seaweed fertilizer.
- If starting seedlings in a communal pot, wait until the seedlings have at least one set of true leaves, lightly grasp by a leaf and lightly pull while pricking under the roots with a pointed object (small fork, tweezers, point of a knife, etc.). Transplant into an appropriately sized pot (small is better), and water in with half-strength seaweed fertilizer. When well-rooted, pot up again according to the instructions above for individually grown seedlings.
Fertilizing Seedlings
 Until the seedlings are a good size (a few inches tall and a few weeks old), only feed with half-strength fertilizer to avoid burning the seedlings.
Try not to leave fertilizer in sun. Test the fertilizer on a couple of plants to see how they do in two days. Lady Bug is better than Fish Emulsion because it already has seaweed in it.
Emulsion because it already has seaweed in it.
Buy extra seaweed, liquid seaweed.
You can mix Fish Emulsion with Liquid Seaweed. Use half strength until plants gets 3 inches tall. When they get 3 inches, don't let seeds dry out. They start getting diseases at this stage. When you plant seedlings in the ground, use seaweed fertilizer (follow directions on label).
Watering Seeds
Water as soon as you plant seeds. Don't use fertilizer to start.
 Buy small watering cans for trays and other containers and buy bottle tops for bottled water,
  which you can also use for fertilizing. Buy handy spray bottles also.
Hardening Off
Gradually get the seedlings use to outdoor conditions. This  takes a week or so.
takes a week or so.
1. Put outside in morning sun for a couple of hours every day, gradually leaving them out longer each day, until they can stay out all day and night.
2. Putting seedlings outside in morning sun is always better than fake lights. If you can't bring them in and out every so often, build a cold frame or
  use a
use a
outside in morning sun is always better than fake lights. If you can't bring them in and out every so often, build a cold frame or use a
floating row cover. Floating row covers allows the sun to come in. You can use light weight or heavy row covers.
Put the seedlings in the cold frame or under the row cover in the morning, then bring them in at night. Over the course of the week, gradually lift the row cover or cold frame lid a few inches higher each day until they're practically uncovered. The seedlings will get use to different breezes, winds, etc.
Other Things To Remember:
- Remember that if you start early, you will get a bigger harvest sooner.
- A greenhouse is like a hospital. It has pests and diseases on transplants. It's a risk of gardening.
- You can't store potting soil in sheds or garages. It's too hot! Store inside house or other air conditioned areas. Add
 water if it is dry. It should be damp when you use it.
 - The enemy of seeds are "moisture"and "temperature." Leave extra seeds in seed packets after use and close with paperclip. Place packets in canning jar with rice at the bottom, then store in freezer/refrigerator for long term seed storage. Label the contents clearly and date it as well.
- Seeds can be started in or outdoors. Basil don't like to be
 inside.
 - Put 1 label for every kind of seeds. Cauliflower and cabbage look identical as seedlings so you need to label. Put label in then plant or plant them then add label.
- Plant tomatoe seeds around X-mas inside.
 Plant peppers New Years day. Beans and squash is "stupid easy" so you can plant in the ground. Spinach won't start when it is 80 degrees.
 - When you plant outside, you can put 2 or 3 seedlings in same spot and remove the ones that are not doing well.
Cathy Harris, Speaker, Author, Coach
Angels Press, CEO, President, Publisher
National Non-GMO Health Movement
http://www.nongmohealthmovement.blogspot.com
P.O. Box 19282
P.O. Box 19282
Austin, TX 78760
(512) 909-7365www.CathyHarrisInternational. com
(Seminars, Workshops, Coaching) www.CathyHarrisWebinars.com
(Webinars) www.AngelsPress.com
(Empowerment & Publishing Company) www.DearCathy.com
(Advice Columnist)
(Seminars, Workshops, Coaching) www.CathyHarrisWebinars.com
(Webinars) www.AngelsPress.com
(Empowerment & Publishing Company) www.DearCathy.com
(Advice Columnist)
email: cathyharrisspeaks@gmail.com
askcathyharris@yahoo.com
Read These Blog Posts and Get Ready
To Grow Your Foods

My First Garden Journey – How I Built A Raised Bed Garden – Cathy Harris

10 Steps To Growing Your Own Foods

How To Use Pots and Containers
To Grow Foods

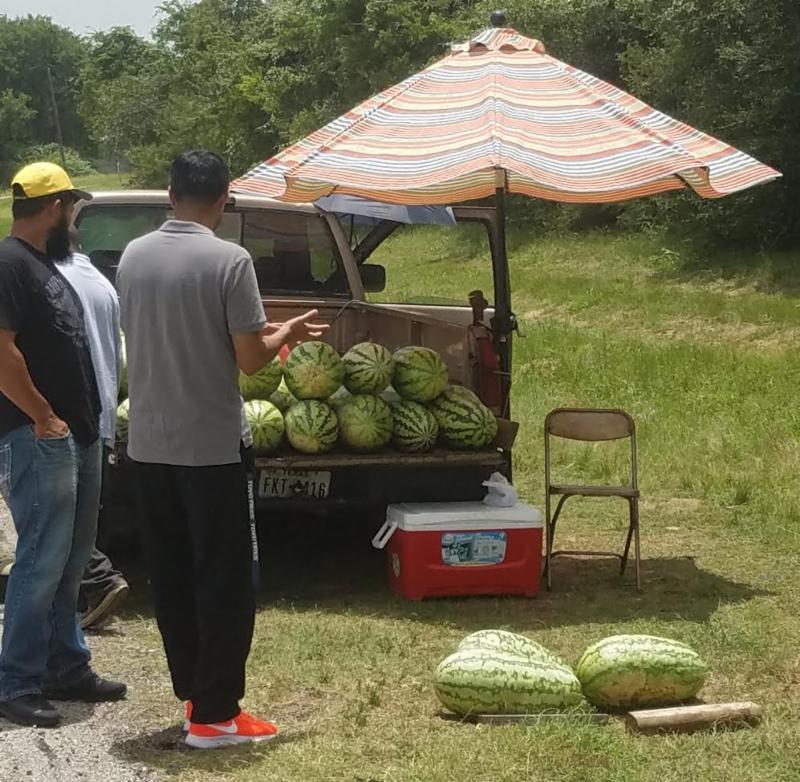
What You Need To Know About
Roadside Vendors Today

“The Beauty and Barber Shop (or Storefront) Initiative”